
Your Windows 11 or 12 laptop may not show the Wi-Fi option due to various reasons. If you start your laptop and notice there is no Wi-Fi symbol present in the system, it could be due to corrupt Windows drivers, hardware issues, operating system issues, or other factors.
I will share a troubleshooting guide for the missing Wi-Fi option in today’s article. Last night, I received an email from Joseph stating that no Wi-Fi was showing on his laptop. After providing him with a solution, he could use Wi-Fi on his laptop. Therefore, I am now considering writing a troubleshooting guide for Wi-Fi not showing in Windows 12 or 11.
This guide is equally applicable to both Windows 11 and Windows 12.
1. Verify Airplane Mode is Off:
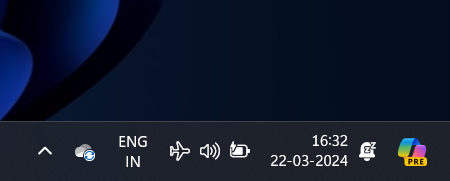
- Sometimes, Airplane Mode might inadvertently be turned on, disabling all wireless connections, including Wi-Fi.
- To check and disable Airplane Mode:
- Open the Action Center by clicking on the speech bubble icon in the taskbar or pressing
Windows key + A. - If Airplane Mode is enabled, click on it to turn it off.
- Open the Action Center by clicking on the speech bubble icon in the taskbar or pressing
2. Restart Your Computer:
- A simple restart can often resolve temporary software glitches that might be causing the Wi-Fi option to disappear.
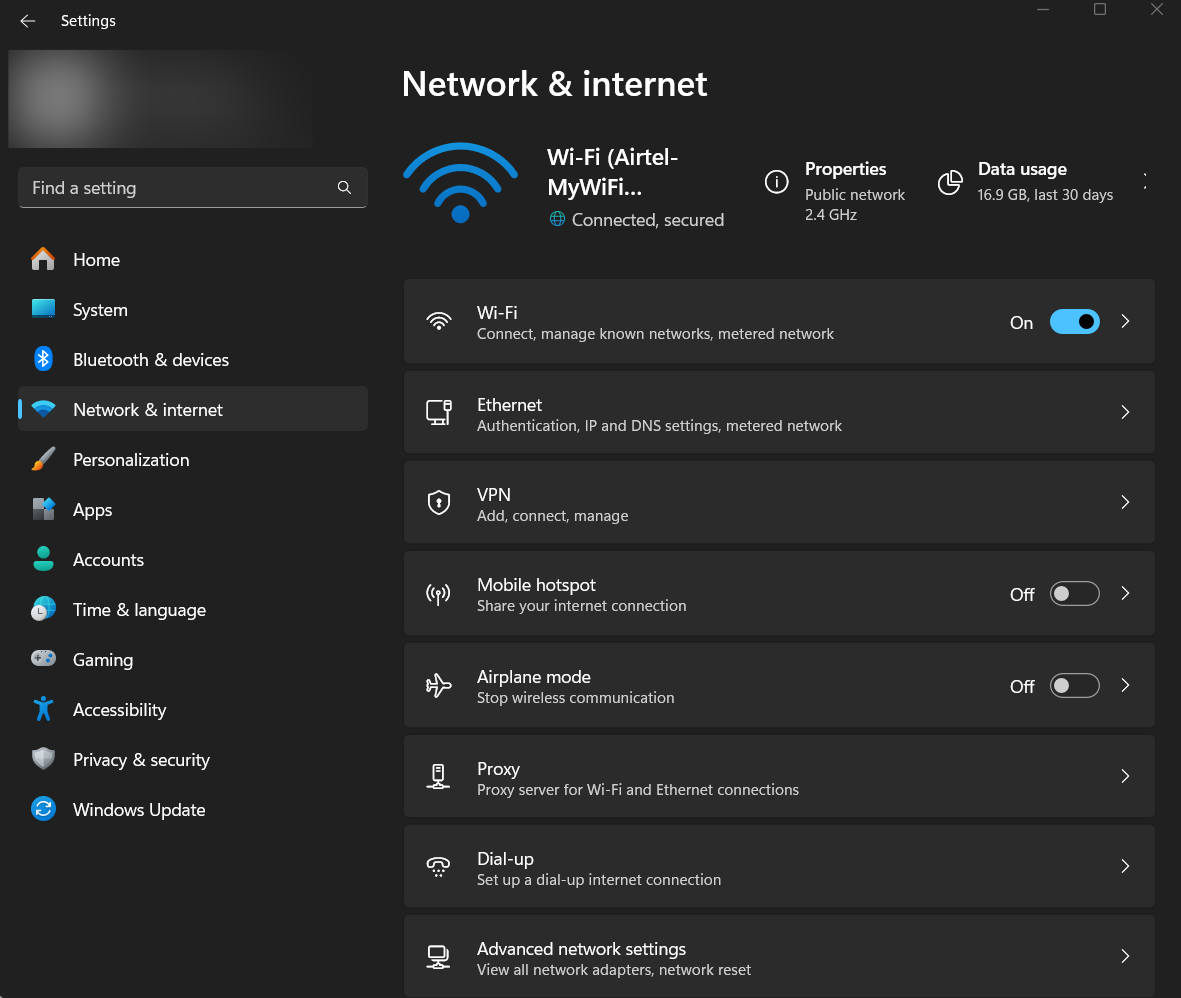
3. Check Wi-Fi Adapter Settings:
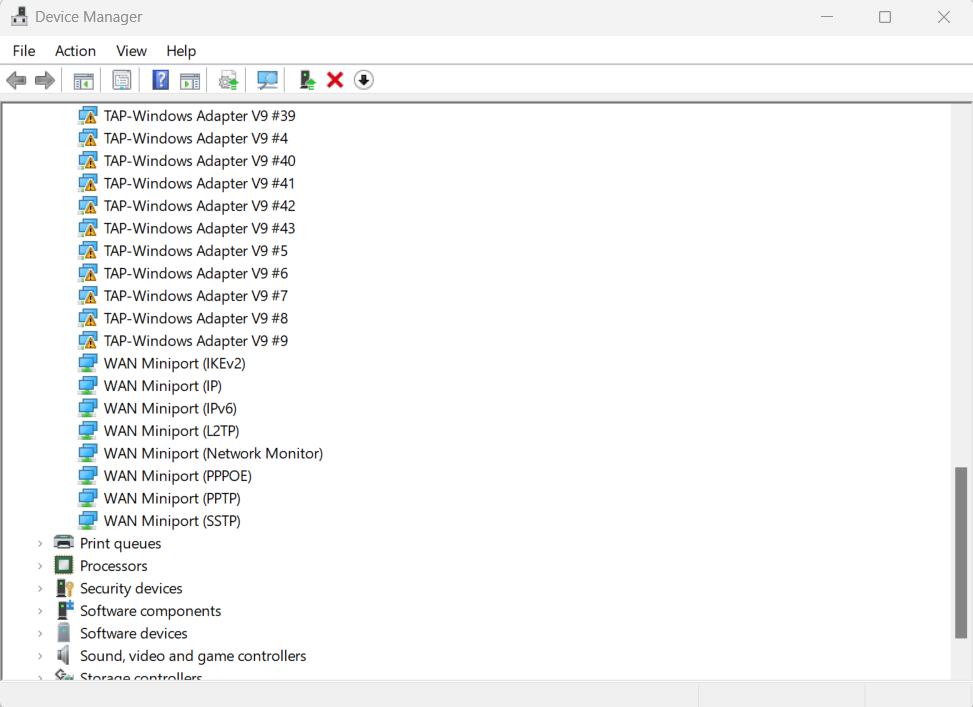
- The Wi-Fi adapter might be disabled or experiencing driver issues.
- To check Wi-Fi adapter settings:
- Right-click on the Start menu and select “Device Manager.”
- Locate “Network adapters” and expand the list.
- Right-click on your Wi-Fi adapter and select “Enable” if it’s disabled. If the option is grayed out, try updating the driver.
- Right-click on the Wi-Fi adapter again and select “Update driver.”
- Follow the on-screen instructions to update the driver. You can choose to search automatically for updated driver software.
4. Run Network Troubleshooter:
- Windows includes a built-in network troubleshooter that can detect and fix common connectivity issues.
- To run the network troubleshooter:
- Open Settings by pressing
Windows key + I. - Click on the System tab.
- Go to “Network & Internet” > “Status.”
- Scroll down and click on “Network troubleshooter” under “Advanced network settings.”
- Follow the prompts to diagnose and resolve network issues.
- Open Settings by pressing
5. Check for Windows Updates:
- Ensure your system is up-to-date with the latest Windows updates and patches.
- To check for updates:
- Open Settings by pressing
Windows key + I. - Go to “Windows Update.”
- Click on “Check for updates” and install any available updates.
- Open Settings by pressing
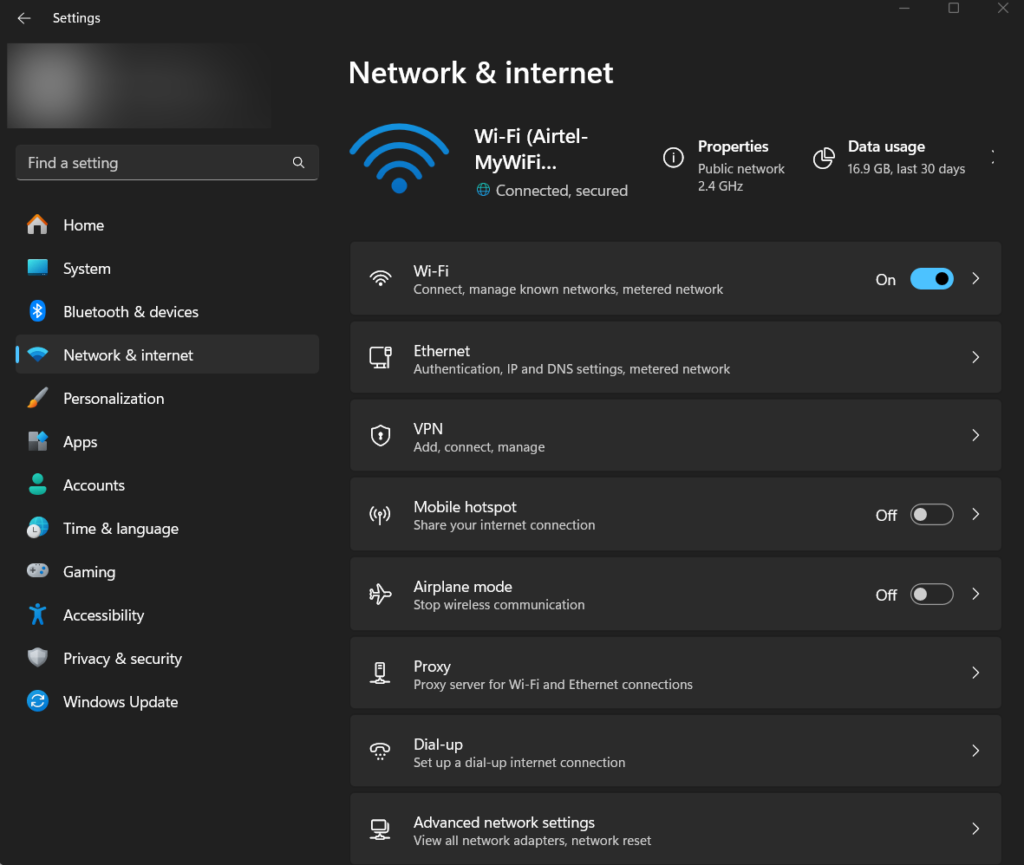
6. Reset Network Settings:
- Resetting network settings can help resolve underlying configuration issues.
- To reset network settings:
- Open Settings by pressing
Windows key + I. - Go to “Network & Internet” > “Status.”
- Scroll down and click on “Network reset” under “Advanced network settings.”
- Follow the on-screen instructions to reset network settings. Note that this will remove all network adapters and reset networking components to their default settings.
- Open Settings by pressing
7. Check for Physical Hardware Issues:
- Ensure that there are no physical issues with your Wi-Fi hardware, such as loose connections or damaged components.
- If you’re using a laptop, ensure that the physical Wi-Fi switch (if present) is turned on.
- If you’re using a desktop, check that the Wi-Fi adapter is properly seated in the PCIe slot and its antennas are securely connected.
8. Perform System Restore:
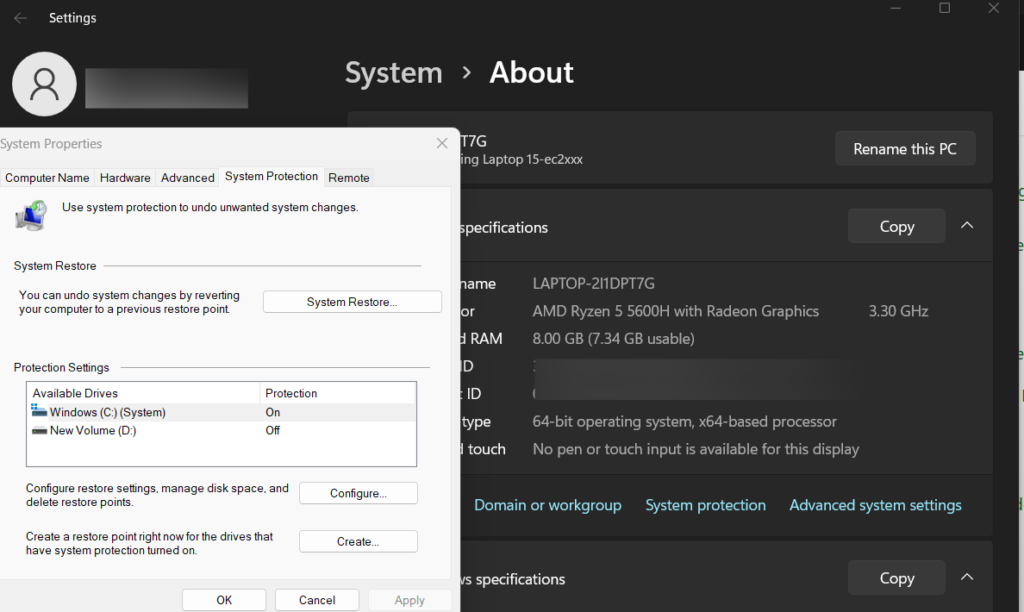
- If the issue started occurring recently after a system change or update, performing a system restore to a previous point where Wi-Fi was functioning properly might resolve the problem.
- To perform a system restore:
- Open the Control Panel by searching for it in the Start menu.
- Click on “System and Security” > “System” > “System Protection.”
- Click on “System Restore” and follow the on-screen instructions to restore your system to a previous state.
Contact Support:
- If none of the above steps resolve the issue, there might be a deeper software or hardware problem.
- Contact Microsoft Support or your device manufacturer’s support for further assistance and troubleshooting.
By following these troubleshooting steps, you should be able to diagnose and resolve the issue of the missing Wi-Fi option in Windows 11 and 12, restore your wireless connectivity, and allow you to continue using your device without interruption.