
Driver updates in the latest Windows 12 are similar to Windows 11. However, all drivers are automatically updated in the system update. But if you want to update any driver manually, you can follow our guide to update Windows 12 drivers.
Note: The safest and most reliable way to update drivers in Windows 12 is always through the Windows update. But if you encounter any problems with Windows update, then to manually update drivers in Windows 11, you can follow these steps.

This article provides a step-by-step guide on how to manually update drivers in Windows 12.
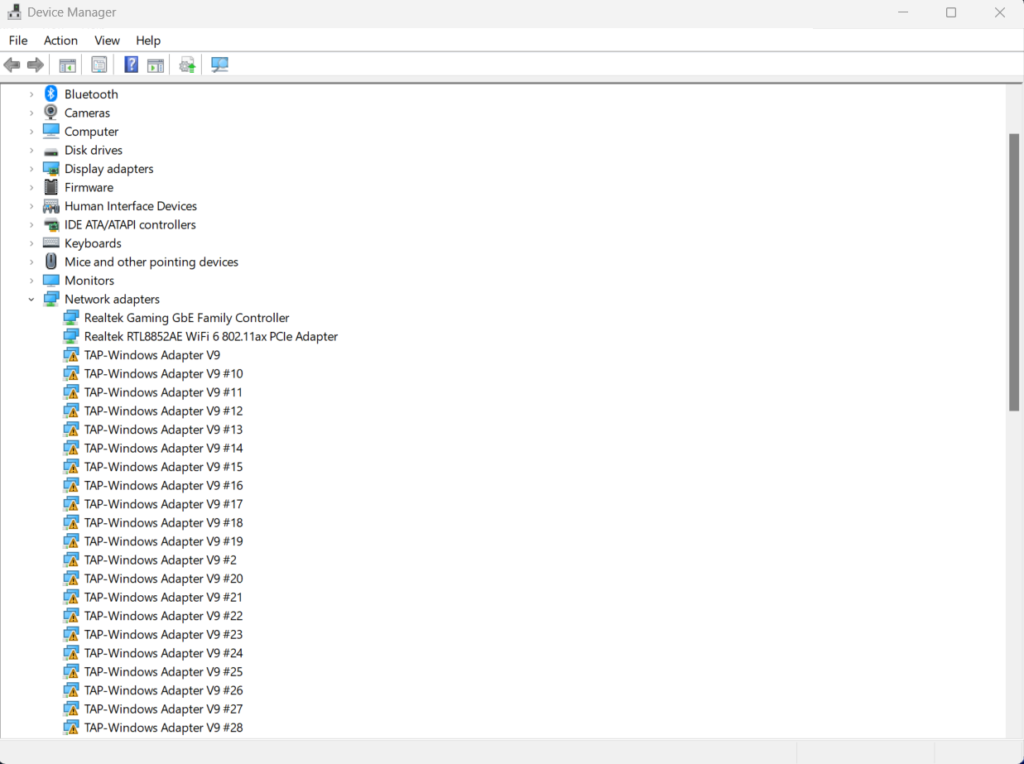
Step 1: Identify the Drivers Needing Update
Before proceeding with manual driver updates, it’s essential to identify which drivers require updating. You can do this by checking for any warning signs in the Device Manager. To access Device Manager, right-click on the Start menu and select “Device Manager” from the context menu. Look for devices marked with a yellow exclamation mark, as this indicates that the device driver may need updating.
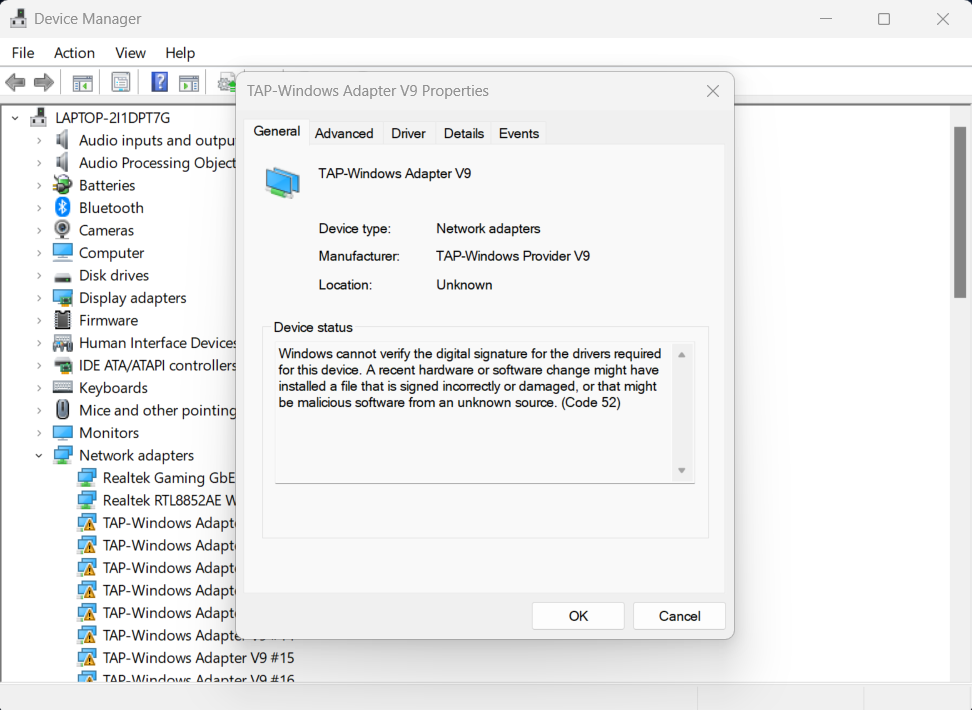
Step 2: Determine the Manufacturer and Model
Once you’ve identified the device requiring a driver update, determine its manufacturer and model. This information is crucial for finding the appropriate drivers. You can usually find this information in the Properties window of the device in Device Manager.
Step 3: Visit the Manufacturer’s Website
Navigate to the website of the manufacturer of the hardware component for which you need to update the driver. Most manufacturers provide a support or downloads section on their website where you can find the latest drivers for their products.
Step 4: Locate and Download the Driver
Search for the driver download section on the manufacturer’s website and locate the driver corresponding to your device’s model and operating system (Windows 12 in this case). Ensure that you download the correct driver version to avoid compatibility issues.
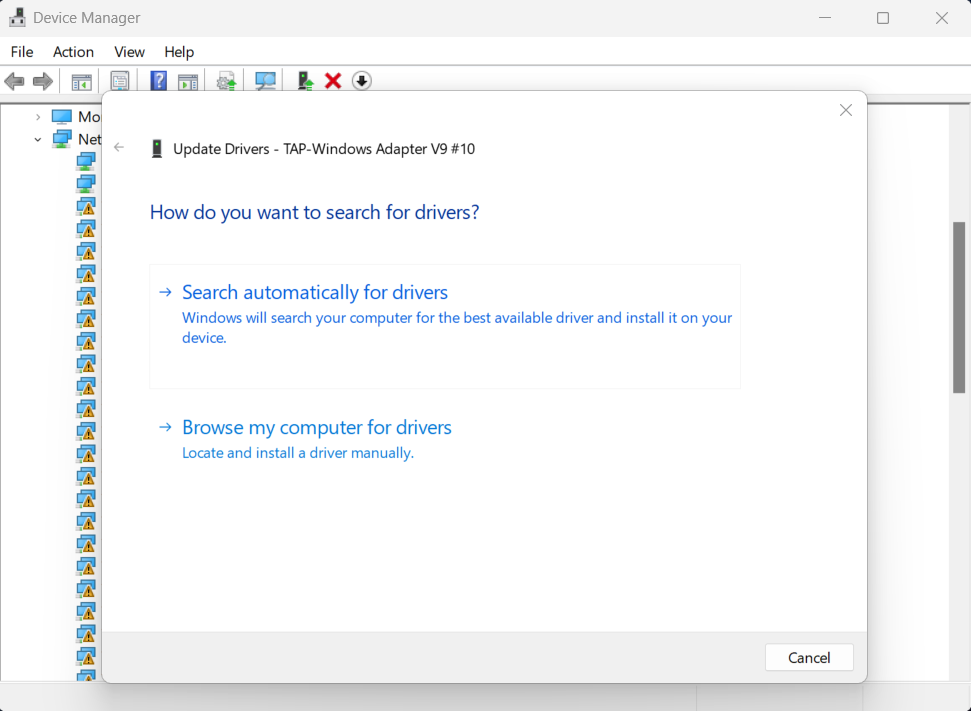
Step 5: Install the Driver
Once the driver file is downloaded, locate it on your computer and double-click to run the installer. Follow the on-screen instructions to complete the installation process. In some cases, you may need to restart your computer for the changes to take effect.
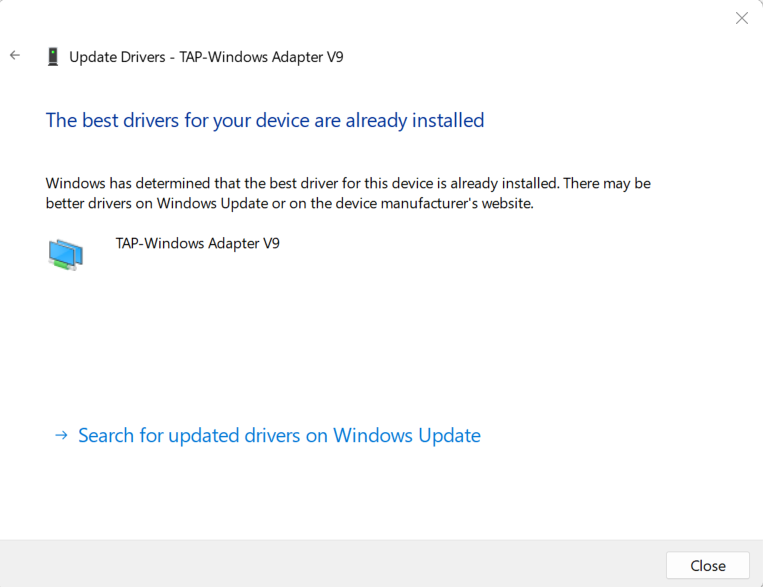
Step 6: Verify the Installation
After installing the driver, it’s essential to verify that the installation was successful. Return to Device Manager, locate the device for which you updated the driver, and ensure that the yellow exclamation mark is no longer present. This indicates that the device is now using the updated driver.
Step 7: Repeat for Other Devices (if necessary)
If you have multiple devices with outdated drivers, repeat the above steps for each device, ensuring that you download and install the correct drivers for each one.
Manually updating drivers in Windows 12 may seem like a daunting task, but following these steps can help you keep your system running smoothly and efficiently. By ensuring that your drivers are up to date, you can improve performance, resolve compatibility issues, and enhance the overall stability of your system.
While automatic updates can handle most driver updates, manual updates provide greater control and flexibility, allowing you to address specific issues as they arise. So, don’t hesitate to take charge of your system’s drivers and keep them updated for a seamless computing experience in Windows 12.