
Windows 12 is the latest OS from Microsoft, and it has changed the way you take screenshots. As you are familiar with the Windows 11 screenshot-capturing process, in Windows 12, it might be even easier and more advanced to take a screenshot.

Windows 12 introduces a sleek and modern interface, coupled with a range of new features designed to enhance user experience. Among these features is the ability to capture screenshots seamlessly.
Whether you’re documenting a software bug, saving a memorable moment from a video, or sharing information with colleagues, knowing how to take screenshots efficiently is essential. In this guide, we’ll explore various methods to capture screenshots in Windows 12.
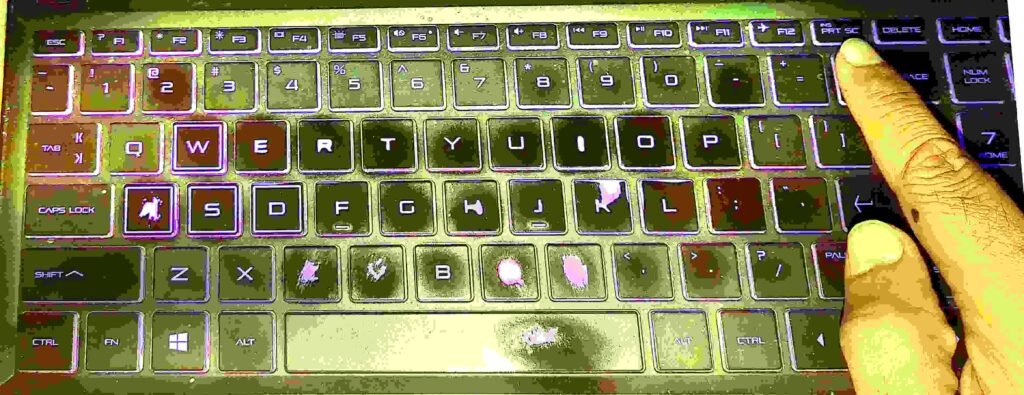
1. Using the Print Screen (PrtScn) Key
The Print Screen key is a traditional method for capturing screenshots in Windows. In Windows 12, pressing the “PrtScn” key alone captures the entire screen and copies it to the clipboard. You can then paste the screenshot into an image editing program or any other application that supports images. Alternatively, pressing “Alt + PrtScn” captures only the active window.
2. Snipping Tool
Windows 12 retains the Snipping Tool, a handy utility for capturing specific areas of the screen. To access it, type “Snipping Tool” in the search bar and select it from the results. Once open, click on “New” to initiate a new snip. You can then select the desired area by clicking and dragging the cursor. After capturing the screenshot, you have options to save, copy, or annotate the image within the Snipping Tool interface.

3. Snip & Sketch
Snip & Sketch is an improved version of the Snipping Tool, offering more features for capturing and editing screenshots. To access it, use the keyboard shortcut “Windows key + Shift + S“. This action brings up a menu at the top of the screen, allowing you to choose between different snip types: rectangular, freeform, window, or full screen. Once you’ve captured the screenshot, it will be saved to the clipboard, and a notification will appear, providing options to annotate, save, or share the image.

4. Windows Key + Print Screen (Win + PrtScn)
Windows 12 introduces a convenient shortcut for capturing screenshots and saving them directly to the “Screenshots” folder in the “Pictures” directory. Pressing “Windows key + PrtScn” captures the entire screen and automatically saves it as a PNG file in the designated folder. This method is quick and eliminates the need to paste screenshots into an image editor before saving.

5. Game Bar
For gamers, Windows 12 offers the Game Bar, which includes a built-in screenshot feature. To activate it, press “Windows key + G” to open the Game Bar overlay. From there, click on the camera icon or press “Windows key + Alt + PrtScn” to capture a screenshot of the current game or application. Screenshots taken using the Game Bar are saved in the “Captures” folder within the “Videos” directory.

Conclusion:
Capturing screenshots in Windows 12 is a straightforward process, thanks to various built-in tools and shortcuts. Whether you prefer the traditional Print Screen key, the versatile Snipping Tool, or the seamless Win + PrtScn shortcut, Windows 12 offers options to suit every user’s needs. By mastering these methods, you can effortlessly capture and share important information, memorable moments, or anything else you encounter on your screen.